Understanding why cleaning your electric kettle matters
Why a clean kettle matters for your health and appliance
Keeping your electric kettle clean is more important than many people realize. Over time, minerals from water—like calcium—build up inside your kettle, forming limescale. This not only affects the taste of your boiled water but can also reduce the efficiency of your kettle, making it take longer to heat and use more energy. If left unchecked, limescale and other residues can even shorten the lifespan of your appliance.
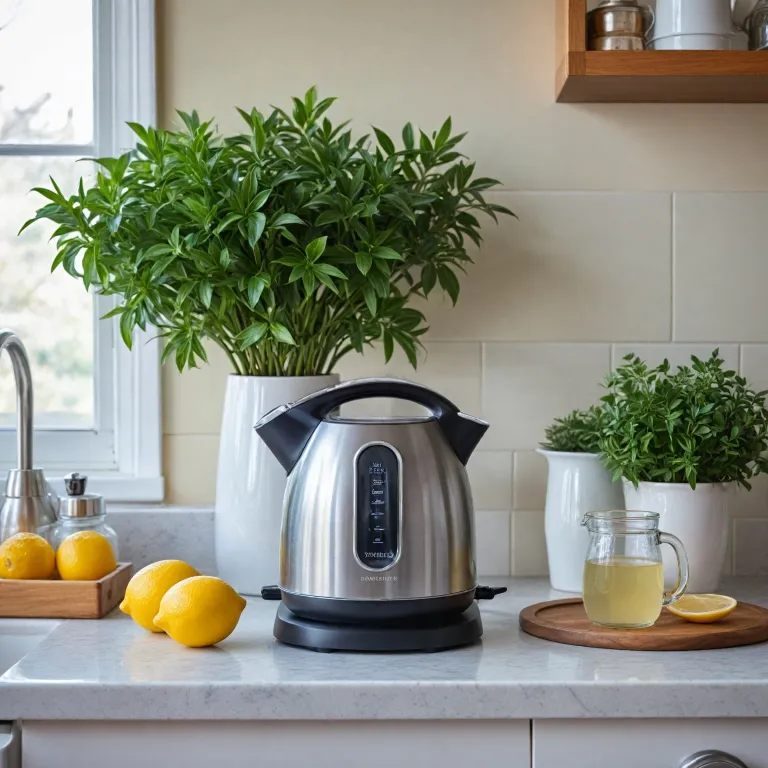
Regular kettle cleaning helps prevent these issues. When you boil water repeatedly, minerals, and sometimes leftover tea or coffee, can cling to the inside. These deposits can make your water taste odd and may even flake off into your drink. Using natural cleaning agents like white vinegar, lemon juice, or citric acid is a safe way to dissolve limescale and keep your kettle fresh. For those looking for more detailed methods, you can find effective ways to clean your kettle using vinegar online.
It’s not just about taste and performance. A neglected kettle can harbor bacteria, especially if water sits inside for long periods. Regularly cleaning and drying your kettle with a microfiber cloth or damp cloth after use helps maintain hygiene and keeps your appliance in top shape. The process doesn’t have to be complicated—simple steps with natural ingredients like baking soda, lemon, or vinegar can make a big difference. In the following sections, you’ll learn how to spot when your kettle needs cleaning, what supplies to use, and the best ways to maintain your clean electric kettle for the long term.
Signs your kettle needs cleaning
How to Tell When Your Electric Kettle Needs a Thorough Clean
It’s easy to overlook the need for cleaning your electric kettle, especially if you use it daily. However, certain signs can help you know when it’s time to give your kettle a deep clean. Recognizing these indicators will not only keep your kettle working efficiently but also ensure your water tastes fresh and clean every time you boil.
- Visible limescale buildup: If you notice white, chalky deposits at the bottom or sides of your kettle, that’s limescale. This buildup is common in areas with hard water and can affect the taste and performance of your appliance. Limescale is best removed using natural acids like vinegar, lemon juice, or citric acid during the cleaning process.
- Unpleasant odors or flavors: If your boiled water starts to taste or smell off, it’s a sign that minerals or residues have accumulated inside. This can transfer unwanted flavors to your drinks, making cleaning essential for better taste and longer kettle life. For more on how limescale impacts flavor, check out this guide on how to descale your tea kettle for better taste and longer life.
- Slower boiling time: A kettle with mineral deposits may take longer to boil water. Limescale acts as an insulator, reducing the efficiency of the heating element and increasing energy use.
- Cloudy kettle water: If the water inside your kettle appears cloudy or has floating particles, it’s a clear sign that cleaning is overdue. These particles are often calcium or other minerals that have separated from the kettle walls.
- Stains or discoloration: Over time, the inside of your electric kettle may develop brown or yellow stains, especially if you use it for making tea or coffee. These stains can be removed with a mixture of baking soda and water or by using a damp microfiber cloth.
Noticing any of these signs? It’s time to gather your cleaning supplies and follow a step-by-step process to restore your kettle. Regular cleaning with natural acids like vinegar, lemon, or citric acid, and wiping down the exterior with a damp cloth, will help keep your electric kettle in top shape. Don’t forget, maintaining your kettle between deep cleans can prevent these issues from building up in the first place.
Essential supplies for cleaning your kettle
Gathering the right tools for a thorough clean
Before you start the cleaning process, having the right supplies on hand makes everything easier and more effective. Using natural acids and gentle abrasives helps break down limescale and remove stains without damaging your electric kettle. Here’s what you’ll need for a proper kettle cleaning session:
- White vinegar: This natural acid is excellent for dissolving limescale and mineral deposits inside your kettle. It’s safe and effective for most electric kettles.
- Lemon or lemon juice: Lemon’s natural acidity helps clean and deodorize. You can use fresh lemon slices or bottled lemon juice to help clean kettle interiors and leave a fresh scent.
- Baking soda: Baking soda acts as a gentle abrasive and helps neutralize odors. It’s useful for scrubbing stubborn spots and making the kettle shine.
- Citric acid: If you prefer a more concentrated natural acid, citric acid powder is a powerful alternative to vinegar or lemon. It’s especially effective for tough limescale.
- Microfiber cloth or soft damp cloth: A microfiber cloth is ideal for wiping down the exterior and interior after cleaning. It helps remove residue and prevents scratches.
- Clean water: You’ll need fresh water to rinse the kettle thoroughly after using cleaning agents. Boil water in the kettle to help remove any lingering vinegar or lemon taste.
For most electric kettle cleaning routines, you don’t need harsh chemicals. Natural ingredients like vinegar, lemon, and baking soda are safe for both your kettle and your health. If you’re interested in making the perfect cup of tea after cleaning, check out this guide on mastering the art of making tea with an electric kettle.
Having these supplies ready will help you tackle limescale, stains, and odors efficiently, making the cleaning process smoother and helping you keep kettle performance at its best over time.
Step-by-step guide to cleaning your electric kettle
Getting Ready: Prep Your Kettle and Workspace
Before you start the cleaning process, unplug your electric kettle and let it cool down completely. Remove any remaining water from the kettle. Place the kettle on a stable surface and gather your cleaning supplies, such as white vinegar, lemon juice, baking soda, citric acid, a microfiber cloth, and a soft sponge. This helps ensure a safe and efficient cleaning experience.
Descaling with Vinegar or Lemon
To tackle limescale and calcium buildup, fill your kettle halfway with equal parts water and white vinegar. If you prefer a natural alternative, use lemon juice or citric acid instead of vinegar. Add the acid of your choice to the kettle water, then fill the rest with clean water. Let the mixture sit for 20 to 30 minutes to help clean stubborn deposits.
- For a deeper clean, bring the solution to a boil. Once it boils, turn off the kettle and let it sit for another 15 minutes.
- After soaking, pour out the solution and rinse the kettle thoroughly with clean water to remove any lingering acid or vinegar smell.
Scrubbing and Rinsing
If you notice any remaining limescale, use a soft sponge or a damp cloth to gently scrub the inside. Avoid using abrasive pads, as they can damage the heating element or interior surface. For tough spots, make a paste with baking soda and a little water, then apply it to the affected areas. Rinse the kettle several times with clean water to ensure all cleaning agents are removed.
Cleaning the Exterior and Finishing Up
Wipe the outside of your electric kettle with a damp microfiber cloth. For stubborn stains, a small amount of baking soda on the cloth can help. Dry the kettle with a clean towel before plugging it back in. This process not only keeps your kettle looking good but also helps maintain its performance over time.
Quick Table: Common Cleaning Agents and Their Uses
| Cleaning Agent | Main Purpose | How to Use |
|---|---|---|
| White Vinegar | Remove limescale and calcium | Mix with water, boil, soak, rinse |
| Lemon Juice | Natural acid for descaling | Mix with water, soak, rinse |
| Baking Soda | Scrub stubborn stains | Make a paste, apply, rinse |
| Citric Acid | Alternative to vinegar/lemon | Dissolve in water, soak, rinse |
| Microfiber Cloth | Wipe exterior and interior | Damp, non-abrasive cleaning |
How to maintain your kettle between deep cleans
Easy habits to keep your kettle fresh
Maintaining a clean electric kettle between deep cleans doesn’t have to be complicated. With a few simple habits, you can help prevent limescale buildup and keep your kettle water tasting fresh. Here are some practical tips to make the process easier:
- Empty after each use: After boiling water, pour out any remaining water. This helps reduce mineral deposits and keeps the inside of your kettle clean.
- Wipe with a damp cloth: Use a microfiber cloth or a soft, damp cloth to wipe the exterior and interior (if accessible) of your kettle. This removes splashes, stains, and any loose residue.
- Leave the lid open: Allowing your kettle to air dry with the lid open helps prevent moisture buildup, which can lead to mold or unpleasant odors.
- Use filtered water: If possible, fill your kettle with filtered water. This reduces the amount of calcium and minerals that cause limescale, making cleaning less frequent.
- Quick rinse with lemon or vinegar: Every few days, add a splash of lemon juice or white vinegar to the kettle, fill with water, and boil. Pour out the mixture and rinse thoroughly. This natural acid helps clean and freshen your kettle between deep cleans.
What to avoid for a clean kettle
- Don’t leave water sitting: Letting water sit in your kettle for long periods encourages limescale and bacteria growth.
- Avoid harsh scrubbing: Using abrasive sponges or harsh chemicals can damage the kettle’s interior and affect the taste of your water.
By making these small changes part of your routine, you’ll help clean your electric kettle more easily and extend its lifespan. Regular maintenance also means you’ll spend less time on deep cleaning and more time enjoying your hot drinks.
Common mistakes to avoid when cleaning your kettle
Frequent Pitfalls When Cleaning Your Electric Kettle
- Using harsh or abrasive materials: Scrubbing your electric kettle with steel wool or rough sponges can scratch the interior, making it easier for limescale and calcium to build up. Stick to a soft microfiber cloth or a damp cloth to gently remove residue.
- Skipping natural cleaners: Many people reach for strong chemical cleaners, but natural options like white vinegar, lemon juice, or citric acid are effective and safer for both your kettle and your health. Baking soda is also a gentle way to help clean stubborn spots.
- Not rinsing thoroughly: After using vinegar, lemon, or baking soda, it’s important to fill the kettle with clean water and boil it at least once. This helps remove any lingering acid or soda taste, ensuring your next cup of tea or coffee tastes fresh.
- Ignoring the exterior: While most focus on the inside, the outside of your electric kettle can collect dust, water spots, and fingerprints. Wipe it down with a damp cloth to keep your kettle looking clean and new.
- Forgetting to unplug and cool down: Always make sure your kettle is unplugged and cool before starting the cleaning process. This helps prevent accidents and protects the heating element from damage.
- Overfilling during cleaning: When you add vinegar, lemon, or water to your kettle, avoid filling past the maximum line. Overfilling can cause boiling water or cleaning solution to spill out, creating a mess or even damaging the electric base.
- Neglecting regular maintenance: Waiting until heavy limescale forms makes cleaning harder. Incorporate quick rinses and wipe-downs between deep cleans to keep kettle calcium and limescale at bay.
By being mindful of these common mistakes, you can make the cleaning process more effective and help your electric kettle last longer. Using the right supplies and techniques not only keeps your kettle clean but also ensures better-tasting water and a safer appliance.
